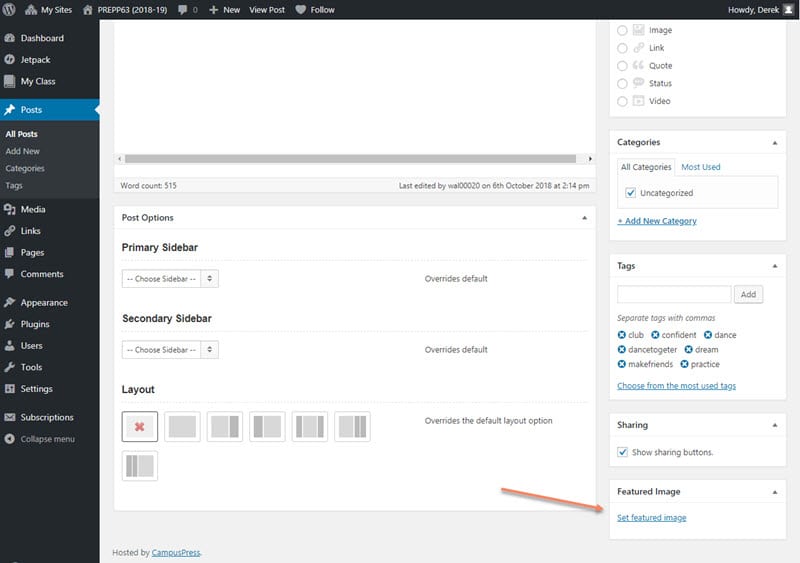
I didn’t cover this very well in the lecture but you add your featured image to a WordPress post using the Featured Image setting which is found at the bottom of the right hand column on the “Add New Post” or “Edit Post” screens. You click on the “Set Featured Image” link, upload your image to the Media Library as usual and then select it from there.
You then have to hit the “Update” button if you’re in the “Edit Post” screen.
Remember that the size of your featured image should be 1024 x 484 pixels in the Hueman theme that we are using for the PREPP63 blog.
